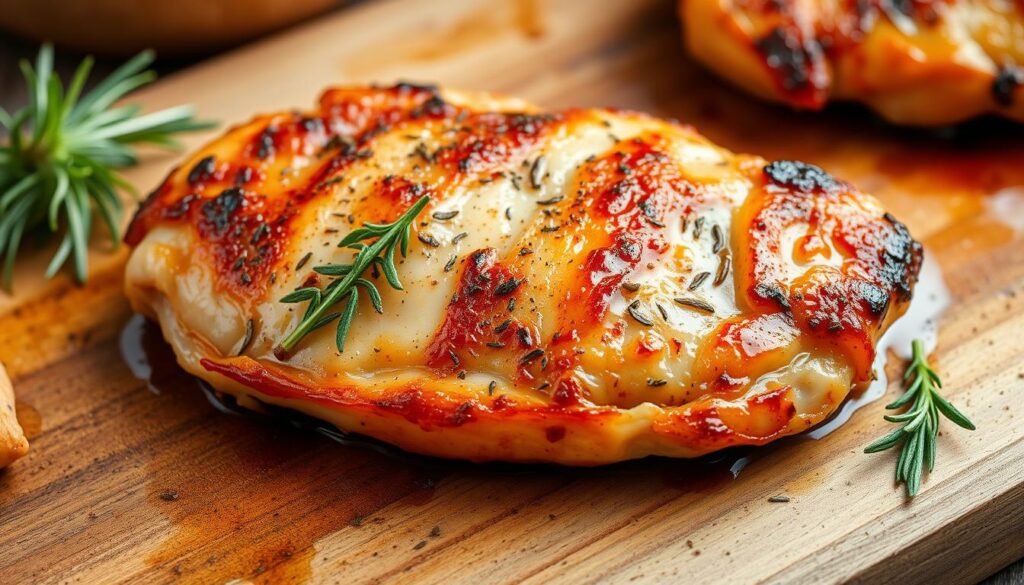
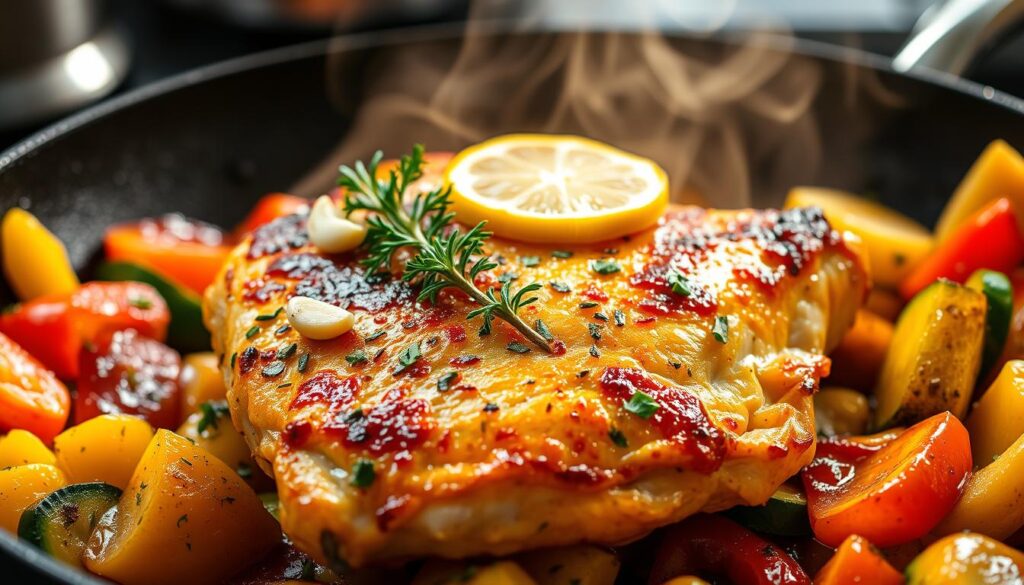
cooking perfect pan-seared chicken breast
As a busy professional, I often crave a quick, protein-rich meal. I want something that tastes great and is good for me. That’s why I’ve learned to cook the perfect pan-seared chicken breast. It’s lean, versatile, and can be the base for many tasty dishes.
Join me as I share the secrets to cooking juicy, flavorful chicken breasts. You’ll learn tips, tricks, and techniques to make your chicken breasts delicious every time.
Key Takeaways
- Understand the science behind the perfect sear and how to achieve it every time
- Learn the essential equipment and preparation steps for mouth-watering pan-seared chicken
- Discover the secret to seasoning your chicken for maximum flavor
- Master the ideal pan temperature and cooking technique for consistently tender, juicy results
- Avoid common mistakes that can ruin your chicken and learn how to tell when it’s perfectly cooked
Understanding the Basics of Pan-Searing Chicken Breast
Learning to pan-sear chicken breast can boost your cooking skills. It brings out rich, caramelized flavors and a crispy outside. This method is different from grilling or baking, offering a unique taste.
What Makes Pan-Searing Different from Other Cooking Methods
Direct, high-heat contact is key in pan-searing. This heat causes the Maillard reaction, changing the chicken’s amino acids and sugars. It creates a flavorful crust, unlike baking or grilling which cook more evenly.
Essential Equipment for Perfect Pan-Searing
- A heavy, oven-safe skillet or cast-iron pan for even heat distribution
- High-smoke-point oil, such as avocado or grapeseed oil, to withstand the high heat
- Tongs or a spatula for flipping the chicken without disrupting the sear
The Science Behind the Perfect Sear
The Maillard reaction is the secret to a golden-brown crust. It happens when proteins and sugars meet high heat. This process enhances flavor and texture, making the chicken crispy outside and juicy inside.
| Cooking Method | Grilled Chicken | Baked Chicken | Pan-Seared Chicken |
|---|---|---|---|
| Heat Source | Direct, high-heat grilling | Indirect, moderate oven heat | Direct, high-heat stovetop |
| Texture | Charred exterior, tender interior | Evenly cooked, moist texture | Crisp, caramelized exterior, juicy interior |
| Flavor | Smoky, grilled taste | Subtle, baked flavor | Rich, Maillard-reaction-enhanced taste |
Understanding pan-searing can take your chicken recipes to the next level. It’s a way to enhance your cooking skills and create delicious dishes.
Choosing the Right Chicken Breast for Pan-Searing
Choosing the right chicken breast is crucial for a perfect sear and juicy texture. Boneless, skinless chicken breasts are great for pan-searing. They are lean and versatile, making them perfect with many seasonings and sides.
When picking chicken breasts, consider their size and thickness. You want them to be even in thickness for even cooking. Look for breasts that are 6-8 ounces and about 1-inch thick.
| Chicken Breast Type | Thickness | Ideal for Pan-Searing |
|---|---|---|
| Boneless, Skinless | 1-inch thick | Yes |
| Bone-in, Skin-on | Varies | No |
| Tenders or Cutlets | 1/2-inch thick | Yes |
The quality and freshness of the chicken are also key. Choose breasts that are plump, firm, and without discoloration. Buying boneless skinless chicken breast from a trusted source ensures a high-quality meal.
“The key to perfect pan-seared chicken is choosing the right cut of meat. Boneless, skinless chicken breasts with a uniform thickness are ideal for this cooking method.”
Preparing Your Chicken Breast Before Cooking
To get the perfect pan-seared chicken breast, you need to prepare it right. This part talks about the key steps to get your low-fat protein or lean meat ready for the pan.
Proper Thawing Techniques
When using frozen chicken breasts, thawing them safely is key. The best way is to put the chicken in the fridge the night before. This slow thaw keeps the meat’s texture and juices intact.
Trimming and Portioning
Before seasoning, remove any extra fat or skin from the chicken. This makes the lean meat taste better and cooks evenly. Also, cut the breasts into equal pieces for even cooking.
Bringing to Room Temperature
- After thawing and trimming, let the chicken sit at room temperature for 15-30 minutes before cooking.
- This step is important for a great sear on the outside and juicy inside.
By following these steps, you’ll get delicious, pan-seared low-fat protein or lean meat that everyone will love.
Essential Seasoning Tips for Flavorful Results
Seasoning is key when pan-searing chicken breast. It can really boost the taste. Try different herbs, spices, and marinades to enhance the chicken’s flavor.
Begin with salt and pepper on your chicken breasts. This combo brings out the chicken’s natural juiciness. For more flavor, here are some tips:
- Try dried herbs like thyme, rosemary, or oregano. They add a rich flavor that goes well with the chicken’s crispy outside.
- Add spices like paprika, garlic powder, or cumin for a smoky or earthy taste in your chicken recipes.
- Make a marinade with lemon juice, olive oil, and Dijon mustard. Let the chicken soak in it for at least 30 minutes to soak up all the flavors.
Finding the right seasoning balance is crucial for tasty pan-seared chicken. Start with a little and adjust as you like. This way, every bite will be full of flavor.

“The right seasoning can transform a good chicken dish into an exceptional one.”
| Herb | Flavor Profile | Best Uses |
|---|---|---|
| Thyme | Earthy, slightly minty | Roasted chicken, chicken soups, pan sauces |
| Rosemary | Piney, slightly woodsy | Grilled chicken, chicken marinades, roasted vegetables |
| Oregano | Warm, slightly peppery | Italian-inspired chicken dishes, chicken parmesan |
Mastering the Perfect Pan Temperature
Getting the pan temperature just right is key for cooking grilled chicken or chicken breast perfectly. A golden-brown sear comes from knowing about heat and when to add your chicken to the pan.
Heat Distribution Techniques
To get even heat, start by heating your pan on medium-high. This makes sure the pan heats up evenly. Then, use these methods to keep the heat perfect:
- Rotate the pan often to heat all sides evenly.
- Choose a heavy, quality pan to hold heat better.
- Preheat the oven to 400°F for finishing the chicken breast in the oven.
When to Add Your Chicken
Timing is crucial for a great sear. Put your chicken breast in the pan when it’s hot and shimmering. This helps create a tasty crust without overcooking the inside. Don’t move the chicken too much to get a good sear.
| Technique | Benefits |
|---|---|
| Preheating the Pan | Ensures even heat distribution for a perfect sear |
| Rotating the Pan | Exposes all areas of the pan to the heat source |
| Using a Heavy Pan | Retains heat better for consistent temperature |
| Finishing in the Oven | Ensures the chicken breast cooks through |
Mastering pan temperature and timing will help you make juicy, flavorful grilled chicken or chicken breast every time.
Step-by-Step Pan-Searing Technique
Learning to pan-sear chicken breast can make your meals much better. This guide will help you get a perfect sear every time.
Start by getting your chicken ready. Dry it with paper towels, season with salt and pepper, and let it sit for 15-20 minutes. This step ensures even cooking.
Then, heat a big skillet or cast-iron pan over medium-high. Use a tablespoon of oil like avocado or grapeseed. Let it shimmer before adding the chicken.
- Sear the chicken for 4-6 minutes on each side. Don’t move it too much to get a great crust.
- Flip the chicken and cook for another 4-6 minutes. It should reach 165°F (74°C) inside.
- Once cooked, take it out and let it rest for 5-10 minutes. This makes it juicy and flavorful.
Getting a perfect sear takes patience and focus. With practice, you’ll get that crispy outside and juicy inside. It makes chicken a great choice for many dishes.
| Technique | Purpose |
|---|---|
| Patting chicken dry | Removes excess moisture, allowing for better sear |
| Seasoning with salt and pepper | Enhances flavor and helps develop a crust |
| Letting chicken come to room temperature | Ensures even cooking throughout |
| Using high-heat oil | Helps create a crispy, golden-brown sear |
| Avoiding overcrowding the pan | Allows for proper heat distribution and searing |
| Letting chicken rest after cooking | Allows juices to redistribute for a juicier result |
By following these steps, you’ll master pan-seared chicken. It’s a tasty protein source for many chicken recipes.

Common Mistakes to Avoid When Cooking Chicken Breast
Getting the perfect pan-seared chicken breast needs careful attention. Even skilled cooks can make mistakes that lead to dry, overcooked, or tasteless chicken. By knowing and avoiding these errors, you can make juicy, tasty chicken that fits well with a healthy diet.
Temperature Control Errors
One big mistake is not keeping the right cooking temperature. If the pan isn’t hot enough, the chicken will steam instead of sear. On the other hand, a too-hot pan can burn the outside before the inside is cooked. Finding the perfect temperature is crucial for a golden-brown crust and moist chicken.
Timing Mistakes
Timing is very important when pan-searing chicken. Cooking it too fast or too long can make it dry and tough. Watch the cooking time closely and avoid flipping or moving the chicken too much. This helps keep the searing process going smoothly.
Seasoning Pitfalls
Seasoning your chicken breast right is key to bringing out its flavor. Not seasoning it enough or using the wrong spices can make it taste bland. Try using bold, tasty seasonings that match the chicken breast and your healthy eating goals.
By avoiding these common mistakes, you’ll get better at pan-searing chicken breast. You’ll enjoy juicy, flavorful results every time.
How to Tell When Your Chicken is Perfectly Cooked
Getting your pan-seared chicken breast just right is key for a delicious and safe meal. To make sure your low-fat protein is cooked perfectly, watch the internal temperature, look for visual signs, and feel the texture of the chicken.
The USDA says chicken needs to be at least 165°F (74°C) to be fully cooked. Use a meat thermometer to check the thickest part of the breast. Make sure the probe doesn’t hit any bone. When it hits this temperature, it’s time to take it off the heat and let it rest before you serve it.
You can also tell if chicken is done by how it looks. The meat should be white and firm all the way through. There should be no pink or clear juices when you press it with a fork. The chicken should feel tender but not too soft or hard.


